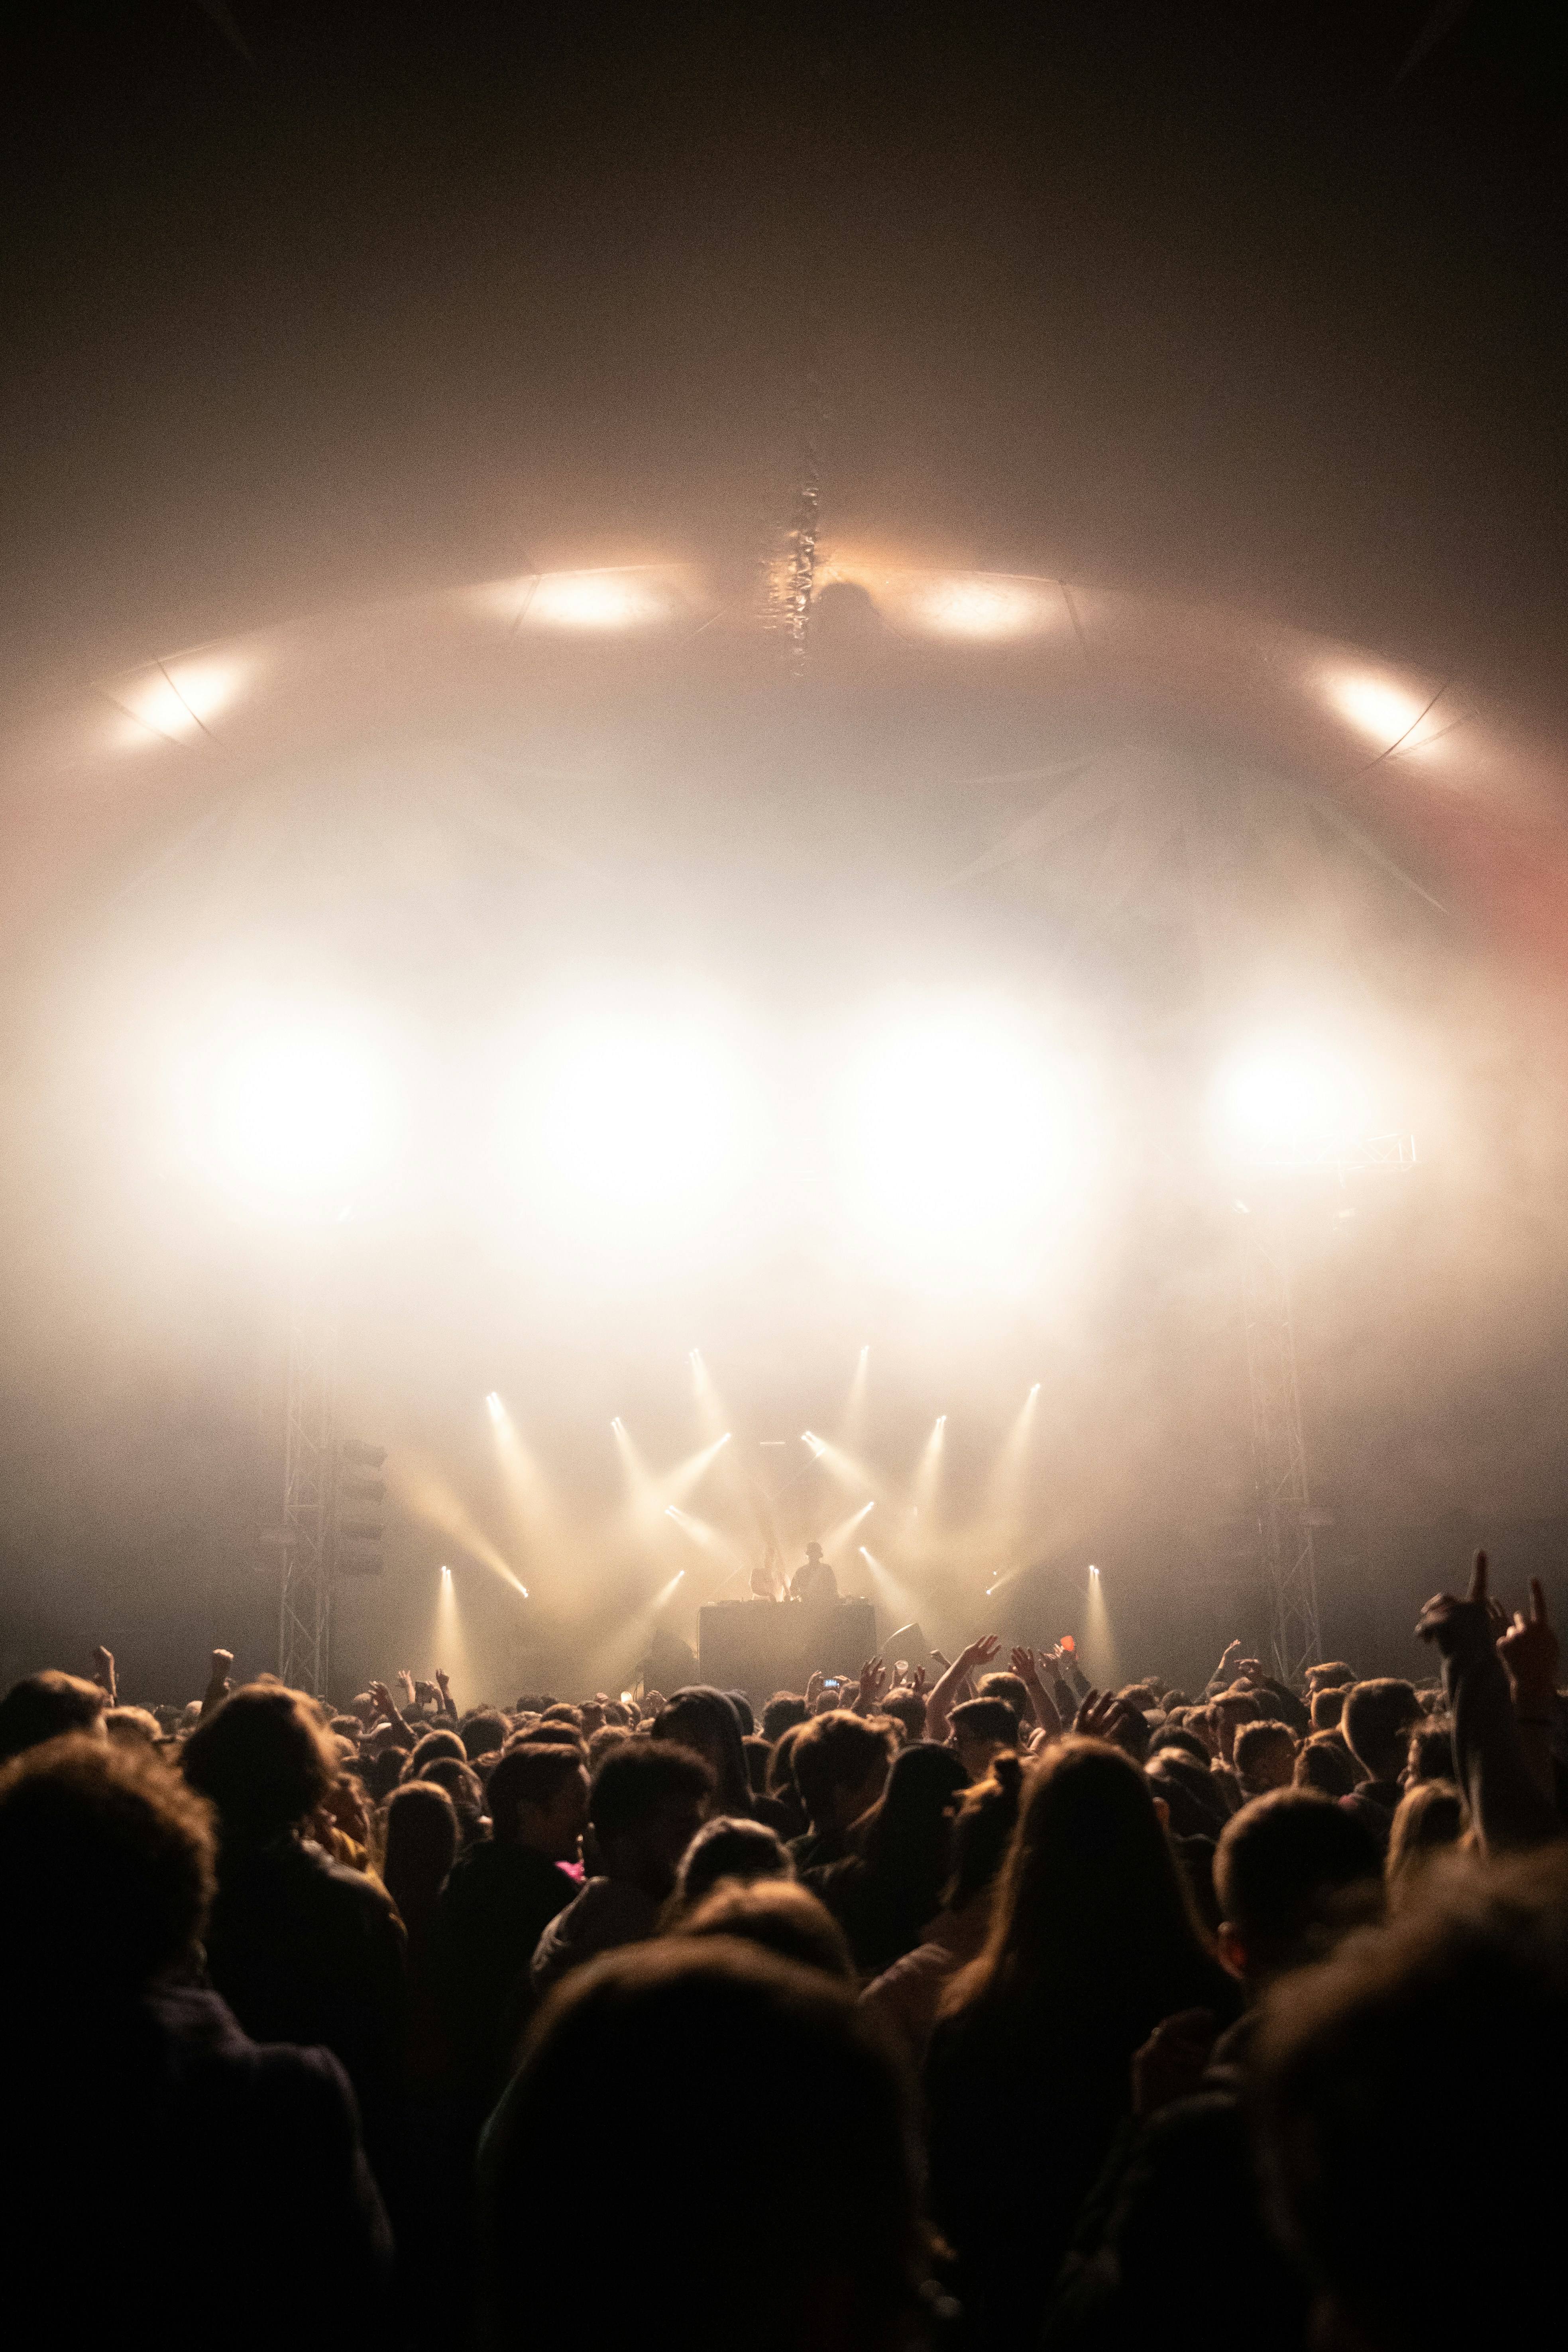

Audience coverage is decided before doors open: scout light and sightlines, freeze reactions in low light, and edit down to emotional selects.
Ultimate Guide to Capturing Audience Moments at Events
Great audience coverage comes down to four things: plan early, shoot from the right spots, use low-light settings that stop motion, and pick only the frames that show feeling.
If I want photos and video that prove people were tuned in, I don’t rely on posed group shots. I look for applause, laughter, focus, and crowd sound. I also match my coverage to the final use: 15–30 second social clips, 60–90 second recap edits, sponsor proof, or event sales material.
Here’s the short version:
I scout light, sightlines, and crowd flow before doors open
I build a shot list with wide, medium, close, over-the-shoulder, and networking shots
I set my camera around 1/200s to 1/250s, f/2.0 to f/2.8, and ISO 1,600–3,200 as a starting point
I use AF-C, eye or zone AF, and short bursts at 5–12 fps
I record board feed + room mic for video
I move during applause and transitions so I stay out of the way
I cut hard in post, because often just 10–15 photos tell the story best
A few numbers matter here. Social clips often work best at 15–30 seconds. LinkedIn edits often land at 30–90 seconds. And if the room gets dark, I’d rather push ISO - even up to 12,800+ when needed - than slow shutter and blur faces or hands.
Area | What I focus on |
|---|---|
Planning | Run-of-show, access, anchor spots, signs at entry |
Photos | Reactions, room scale, stage-from-crowd view, break-time candids |
Video | Wide for scale, medium for group energy, tight for faces |
Audio | Clean speech from board feed, crowd feel from room mic |
Editing | Cut blinks, duplicates, weak reactions, keep the emotional peak |
The goal is simple: show what the room felt like, not just what it looked like.
Event Photography Tips and Tricks (6 Shot Types)
Plan the Shot Before the Crowd Arrives
Audience coverage is decided before the doors open. Your position, the light in the room, and your timing shape what you get. Get those wrong, and key reactions are gone. Get them right, and the room starts working for you.
Scout the Venue for Light, Sightlines, and Crowd Flow
Walk the venue before guests come in and map out your main shooting spots. Focus on primary positions near columns, corners, or the stage edge. Those spots let you work multiple angles without moving all the time, and they help you stay out of the audience's line of sight.
"Identify your anchor positions: spots where you can cover multiple angles without moving, where you're not blocking attendee sightlines, and where you can exit quickly when the scene changes." - Event Photojournalism
Then check the light. Many venues combine stage lighting, overhead fixtures, and window light, all with different color temperatures. That mix can get messy fast. Watch for backlit windows and dark patches during presentations. Do a few exposure tests while you scout. Lights that seem fine to your eyes can still blow out the sensor.
It also helps to think past the image. Listen for HVAC noise and sound bleed from nearby halls. If audio matters, note whether you'll need extra mics or a board feed.
Build a Focused Audience Shot List
A shot list keeps the crew on the same page when the pace picks up. It cuts down on guesswork and helps everyone track the same priorities. Group it by phase: pre-event, live moments, and transitions.
Your audience shot list should include five core categories:
Wide establishing shots that show the size of the room and the energy in it
Medium reaction groups of 3–4 people laughing or applauding
Emotional close-ups of individual expressions
Over-the-shoulder angles that show the stage from the audience's point of view
Candid networking moments during breaks
The event type changes what matters most. Conferences usually need Q&A and networking coverage. Concerts lean on crowd energy and singalongs. Galas call for applause, laughter, and award reactions.
"Anyone can photograph what was planned. The skill is capturing what was felt." - Event Photojournalism
Coordinate Access with Organizers and Talent Teams
Ask for the run-of-show at least 48 hours in advance. That gives you time to plan for applause breaks, lighting changes, and high-energy transitions instead of scrambling in the moment.
Confirm key details with each group involved:
Event coordinator: run-of-show, VIP list, signage
Stage manager: cue points, lighting shifts, transitions
Talent team: allowed angles, flash limits, backstage access
Sound engineer: board feed, backup audio
Venue staff: power, badges, movement lanes
Give one crew lead the job of managing the shot list and coordinating camera operators in real time. That one point of contact can save a lot of confusion once the event starts.
Also make sure visible signage is posted at entry points saying that professional photography and filming is in progress. That sets expectations clearly as people enter the space.
With positions and access locked in, the next step is choosing camera settings that match the room you mapped.
Gear and Settings for Low-Light Audience Coverage
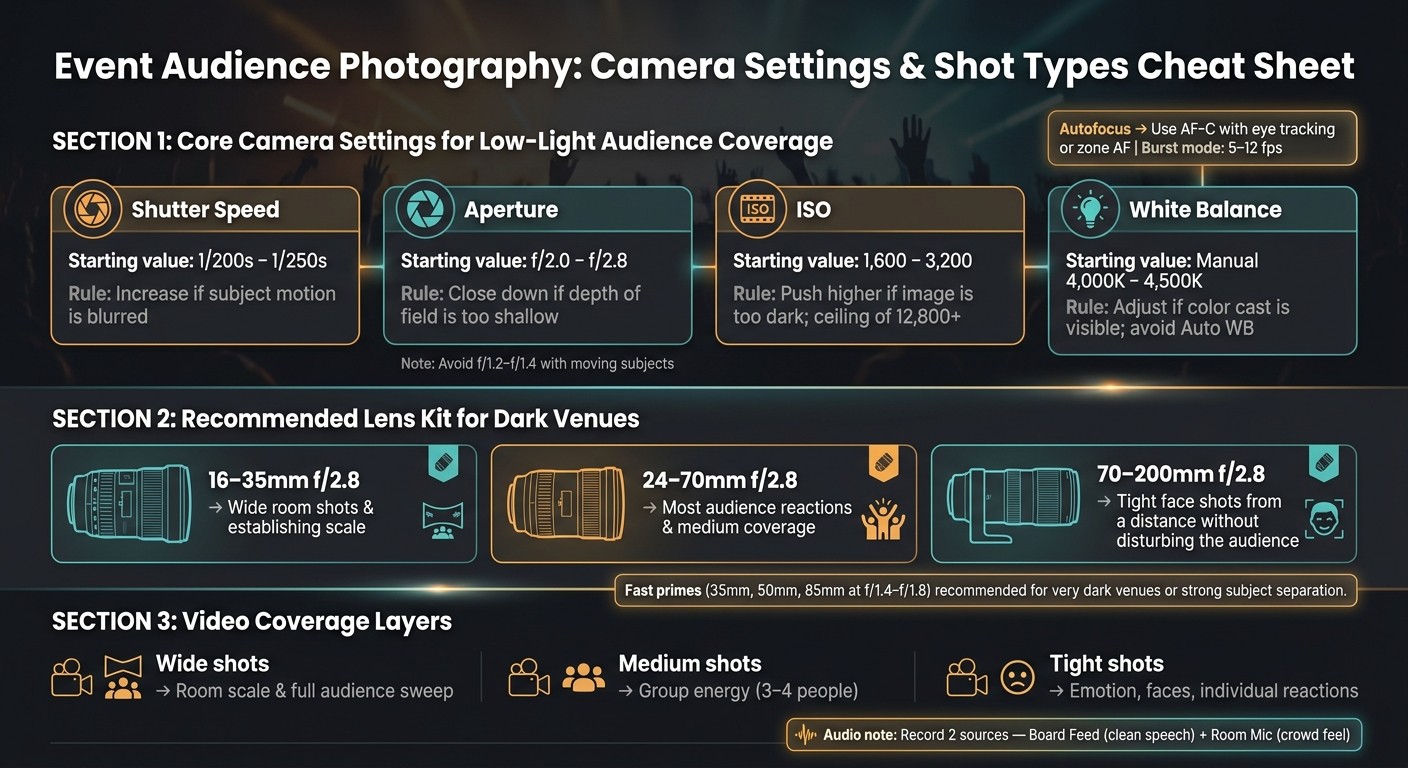
Event Audience Photography: Camera Settings & Shot Types Cheat Sheet
Once your positions are set, the next step is simple: bring gear that works quietly in dark, mixed-light rooms.
Choose Camera Bodies and Lenses That Handle Dark Venues
A full-frame mirrorless body is a smart pick here. It gives you strong high-ISO results and silent shooting in low-light venues. That matters because you can work quietly and shoot from farther away, which helps you keep audience reactions natural instead of making people self-conscious.
For lenses, three f/2.8 zooms will cover almost everything:
16–35mm for room shots
24–70mm for most audience reactions
70–200mm for tight face shots from a distance
That 70–200mm is especially useful because it lets you stay out of the audience's space entirely.
Fast primes like a 35mm, 50mm, or 85mm at f/1.4 or f/1.8 are also worth packing when the venue is very dark or when you want stronger subject separation. But there’s a catch. Shooting wide open at f/1.2 or f/1.4 with moving subjects can backfire fast. Depth of field gets so thin that even a small lean or head turn can throw a face out of focus. In most cases, stopping down to f/2.0 or f/2.8 gives you more room for error without giving up much light.
After you pick your lens, lock your exposure based on the darkest usable light in the room.
Use Settings That Freeze Emotion Without Losing Atmosphere
Set exposure before the first big reaction happens. If you wait until the moment hits, you’re already behind.
Here are the main settings and the moments that call for a change:
Setting | Starting Value | Adjust When |
|---|---|---|
Shutter Speed | 1/200s – 1/250s | Subject motion is blurred: increase |
Aperture | f/2.0 – f/2.8 | Depth of field too shallow: close down |
ISO | 1,600 – 3,200 | Image too dark: push higher; ceiling of 12,800+ |
White Balance | Manual (4,000K – 4,500K) | Color cast is visible: adjust; avoid Auto WB |
Keep your shutter at 1/200s or faster. Anything slower can blur hands and faces. When the room gets darker, push ISO first instead of dropping shutter speed. It’s usually the better trade.
For autofocus, use AF-C with eye tracking or zone AF. Single-point AF is too slow when people shift, laugh, turn, or clap without warning. During peak reactions, shoot in short bursts at 5–12 frames per second so you can catch the best expression, not the split second before it or after it.
"Silent shutter mode is non-negotiable if your camera supports it." - Aayush Arora
Shoot RAW and record to two cards at once. Event venues often mix warm tungsten stage light with cool fluorescent or LED overhead light, and that can leave ugly color casts behind. Those files are much harder to fix from JPEGs. RAW gives you more room in post, and dual card slots help protect you from card failure.
Capture Reaction Photos and Video That Feel Immediate
Photograph Applause, Laughter, Cheering, and Quiet Concentration
Once exposure and access are locked in, the job becomes simple to describe and hard to do: read the room before the reaction peaks.
These moments move fast. If you wait until the smile is obvious or the applause is already in full swing, you’re often late. The best frame usually lands right at the crest of the expression. That’s where the anchor positions and audience shot list you mapped out earlier help a lot. They let you get to those reactions faster instead of hunting for them in the moment.
As the speaker picks up speed or leans into a point, a reaction often follows a beat later. Watch the speaker’s hands too. When a hand starts to rise, switch on burst mode right away. Shoot short bursts as the reaction builds so you have a sequence to pick from, not one frame that missed the mark.
In panel discussions, some of the best images don’t come from the person talking. They come from the people listening. A raised eyebrow, a laugh, a quiet nod - those can say more than the speaker does. Use a 70–200mm to isolate 3–4 genuine reactions from across the room.
Film Crowd Reactions with Wide, Medium, and Tight Coverage
For video, you’re not chasing one perfect frame. You’re following the full emotional beat.
That usually means working in three layers: wide shots for scale, medium shots for group energy, and tight shots for emotion and detail. As the mood in the room changes, your coverage should move with it.
A roaming operator can grab the unplanned moments - the quick laugh, the glance between guests, the sudden burst of applause. At the same time, a locked-off camera at the back or side of the room can hold the full sweep of the audience during keynotes. Go tight during a punchline or an emotional reveal. Pull wide when the whole room breaks open.
Use wide shots for scale, medium shots for group energy, and tight shots for emotion and detail.
Record Clean Crowd Audio That Makes the Reaction Feel Real
Good reaction footage falls flat if the sound feels thin.
Record two sources: a clean board feed and a room mic. The board feed gives you clear speech. The room mic brings in applause, laughter, and the feel of the space. Capture room tone before the program starts or during a break so you can smooth out edits later.
Get the audio clean first, then keep moving so your selects stay broad.
On-Site Workflow, Editing, and Final Selects
Move Efficiently and Stay Out of the Way During the Event
Arrive early so you can lock in your anchor positions and escape routes before things get busy. During breaks, or right after the event, back up your cards to at least two separate drives. It’s basic, but it saves you from the kind of mistake that ruins a whole day.
When you start shooting, work from the edges of the room first. Move inward only when the moment starts to build. That little bit of restraint helps in two ways: you get more variety, and the edit gets easier later.
Timing matters too. Move during applause, transitions, or video segments. Stay low, and use aisles instead of stepping through rows.
For the first 20 minutes, keep your pace steady and unhurried so the audience gets used to seeing you. Come in from the side so people notice you little by little, not like a sudden interruption.
Edit for Story, Not Just Volume
After the event, edit for emotion instead of sheer coverage.
Cull hard. In most cases, only 10–15 images carry the story. Start by cutting blinks, awkward in-between gestures, and near-duplicate bursts. Then arrange the remaining selects so they show a clear arc: anticipation, release, aftermath.
Put expression ahead of composition. A slightly imperfect frame with a real laugh will usually beat a clean frame with no feeling behind it. In post, keep skin tones natural under mixed venue lighting. Skip heavy stylization that pulls attention away from faces.
Once your selects are in order, match clip length to the platform:
Instagram Reels: 15–30 seconds
LinkedIn: 30–90 seconds
Keep file naming consistent from ingest through delivery. A simple format like CLIENTNAME_EVENTDATE_0001.jpg works well.
Conclusion: The Essentials of Strong Audience Coverage
The last part of the job is selection. Keep only the frames and clips that hold the room’s emotional peak.
Strong audience coverage starts before the event and carries through the edit: scout smart, move quietly, shoot reactions from more than one angle, and cull for story. When you do that well, audience moments become proof of how the room felt.

Let’s keep in touch.
Discover more about high-performance web design. Follow us on Twitter and Instagram.